Homemade Reese’s Cups Classic
Highlighted under: Home-Style Sweets
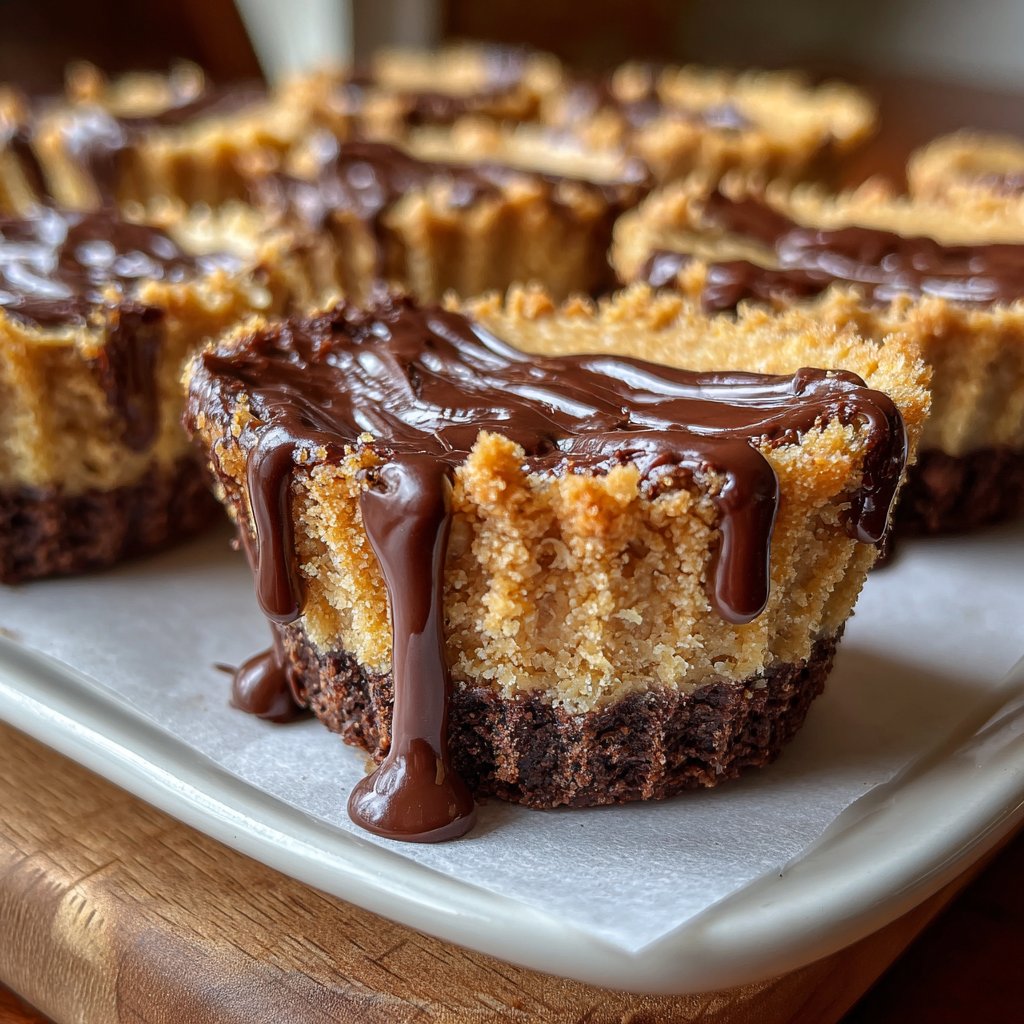
I’ve always been a fan of the sweet and salty combination found in Reese’s Cups, so making them from scratch was a must-try for me. The moment I took my first bite of these homemade treats, I was hooked! The smoothness of the chocolate enveloping the creamy peanut butter filling is not only indulgent but also incredibly satisfying. Plus, customizing the ingredients to my liking felt rewarding. It’s true what they say, nothing beats the taste of homemade candy!
Creating my own version of Reese’s Cups was an adventure that I absolutely loved. I started by experimenting with various chocolate types, from dark to milk chocolate, to find my preferred balance. It turns out that semi-sweet chocolate provided the perfect richness to complement the sweet peanut butter filling. This combination allowed all flavors to shine while still retaining that iconic Reese's taste.
While making these cups, I learned that the melting chocolate must not be overheated; a gentle melting method preserves its glossy finish and improves the texture. This was a key tip I discovered that made a significant difference in the final presentation of my homemade creations. They truly are a labor of love!
Why You'll Love This Recipe
- Rich chocolate flavor paired with creamy peanut butter.
- Customizable with your choice of chocolate or nut butter.
- Perfect for gifting or enjoying as a personalized treat.
Key Techniques for Perfectly Homemade Cups
When melting chocolate, it's essential to do so gradually to avoid scorching. Using a microwave, heat in short intervals of 30 seconds, stirring after each round, until the chocolate achieves a glossy and smooth finish. If the chocolate appears thick, adding a teaspoon of coconut oil can improve its fluidity, allowing for a more even coating over the filling.
After pouring the initial layer of chocolate into the muffin tin, spreading it evenly is critical. A small offset spatula can help achieve a uniform base that seamlessly pockets the peanut filling. For added texture, ensure the chocolate layer is about a quarter-inch thick; this thickness strikes a balance between holding the peanut butter filling and creating a decadent chocolate experience.
Ingredient Insights
Using creamy peanut butter allows for a smoother filling that complements the chocolate cups beautifully. If you prefer a chunkier texture, go for natural peanut butter with pieces. Just remember, natural options may require slight adjustments in the amount of powdered sugar based on your desired sweetness and consistency.
Powdered sugar plays a crucial role in binding the peanut butter filling to achieve a consistent texture. For those avoiding sugar, alternatives like erythritol or monk fruit sweeteners can be used, keeping in mind that they might slightly alter the filling's taste. Always taste as you go to ensure the balance of flavors remains right.
Storage and Serving Suggestions
These homemade Reese's cups can be stored in an airtight container at room temperature for up to a week. However, if you prefer a firmer texture, placing them in the refrigerator will extend their shelf life to two weeks. Just ensure they are well-covered to avoid absorption of fridges' odors.
For a fun twist, consider adding toppings before the final chocolate layer sets. Crushed nuts or a sprinkle of sea salt can elevate your treats and add delightful textures. If you want to serve these as a dessert, pairing them with a scoop of vanilla ice cream creates a delicious contrast of temperatures and flavors.
Ingredients
For the Chocolate Cups
- 1 ½ cups semi-sweet chocolate chips
- 1 tablespoon coconut oil
For the Peanut Butter Filling
- ¾ cup creamy peanut butter
- ½ cup powdered sugar
- 1 teaspoon vanilla extract
- Pinch of salt
Instructions
Steps to Make Homemade Reese's Cups
Melt the Chocolate
In a microwave-safe bowl, combine the semi-sweet chocolate chips and coconut oil. Heat in 30-second intervals, stirring in between, until fully melted and smooth.
Prepare the Muffin Tin
Line a muffin tin with paper liners. Pour a spoonful of melted chocolate into each liner and spread it evenly across the bottom. Place the tray in the freezer for about 10 minutes to set.
Make the Filling
In a mixing bowl, combine the peanut butter, powdered sugar, vanilla extract, and salt. Mix until well combined and creamy.
Add the Filling
Remove the muffin tin from the freezer. Spoon a dollop of the peanut butter mixture onto each set chocolate cup, smoothing out the top.
Top with Chocolate
Pour the remaining melted chocolate over the peanut butter filling, covering it completely. Return the tin to the freezer for an additional 15 minutes to fully set.
Enjoy!
Once set, remove the cups from the muffin tin and peel off the liners. Enjoy your homemade Reese’s Cups any time of the day!
Tips
Pro Tips
- For added texture, consider mixing in crushed nuts or a pinch of sea salt on top of the chocolate before it sets.
Customization and Variations
One of the most enjoyable aspects of making homemade Reese’s Cups is the ability to customize them to your preference. Experimenting with different types of chocolate can significantly enhance your treat. Dark chocolate adds depth and a rich flavor, while white chocolate can be a sweet alternative for those who want a creamier cup.
If you're looking for a nut-free version, try substituting peanut butter with sunflower seed butter. This not only provides a similar creamy texture but also makes your treat safe for those with nut allergies. Just be aware that sunflower seed butter may darken the color of your chocolate due to its natural oils, but the flavor remains delightful.
Troubleshooting Common Issues
If your chocolate seizes during melting, it may have come into contact with moisture. To salvage it, add a bit of coconut oil or vegetable oil to loosen it up, stirring gently until it smooths out. Avoid adding water, which will exacerbate the issue.
While baking liners usually work well, some might find the chocolate sticks to them. To combat this, pair high-quality liners with a light spray of cooking oil or consider using silicone molds for an easy release. Silicone allows you to pop the cups out without the fear of sticking and breaking.
Questions About Recipes
→ Can I use dark chocolate instead of semi-sweet?
Absolutely! Dark chocolate will give a richer flavor that pairs beautifully with the peanut butter.
→ How do I store these Reese’s Cups?
Keep them in an airtight container in the refrigerator for up to two weeks.
→ Can I make these vegan?
Yes! Substitute the chocolate chips with a dairy-free version and use a plant-based peanut butter.
→ What can I use instead of powdered sugar?
If you don't have powdered sugar, you can make your own by blending granulated sugar until it's fine.
Homemade Reese’s Cups Classic
Created by: Delilah Spencer
Recipe Type: Home-Style Sweets
Skill Level: Beginner
Final Quantity: 12 cups
What You'll Need
For the Chocolate Cups
- 1 ½ cups semi-sweet chocolate chips
- 1 tablespoon coconut oil
For the Peanut Butter Filling
- ¾ cup creamy peanut butter
- ½ cup powdered sugar
- 1 teaspoon vanilla extract
- Pinch of salt
How-To Steps
In a microwave-safe bowl, combine the semi-sweet chocolate chips and coconut oil. Heat in 30-second intervals, stirring in between, until fully melted and smooth.
Line a muffin tin with paper liners. Pour a spoonful of melted chocolate into each liner and spread it evenly across the bottom. Place the tray in the freezer for about 10 minutes to set.
In a mixing bowl, combine the peanut butter, powdered sugar, vanilla extract, and salt. Mix until well combined and creamy.
Remove the muffin tin from the freezer. Spoon a dollop of the peanut butter mixture onto each set chocolate cup, smoothing out the top.
Pour the remaining melted chocolate over the peanut butter filling, covering it completely. Return the tin to the freezer for an additional 15 minutes to fully set.
Once set, remove the cups from the muffin tin and peel off the liners. Enjoy your homemade Reese’s Cups any time of the day!
Extra Tips
- For added texture, consider mixing in crushed nuts or a pinch of sea salt on top of the chocolate before it sets.
Nutritional Breakdown (Per Serving)
- Calories: 380 kcal
- Total Fat: 26g
- Saturated Fat: 15g
- Cholesterol: 195mg
- Sodium: 85mg
- Total Carbohydrates: 32g
- Dietary Fiber: 3g
- Sugars: 24g
- Protein: 6g