Homemade Reese’s Cups Mini Bites
Highlighted under: Home-Style Sweets
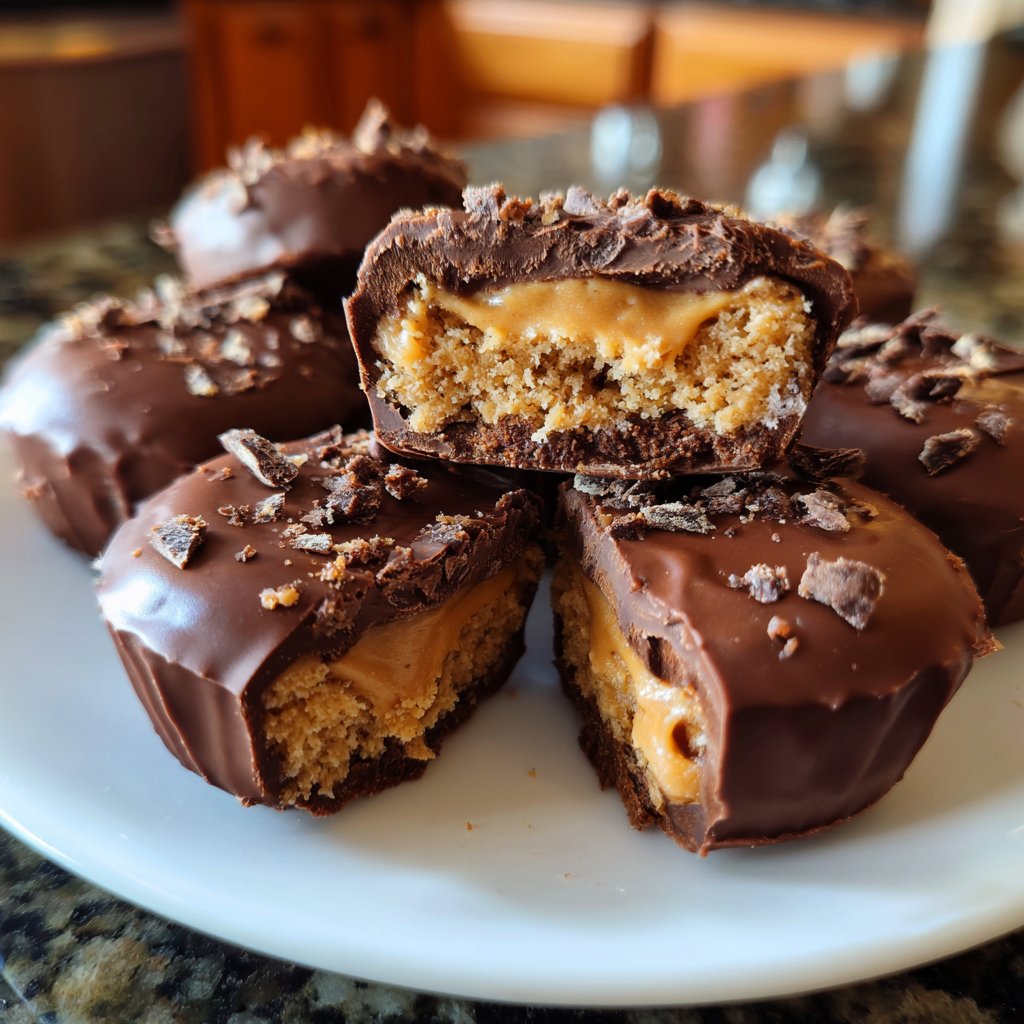
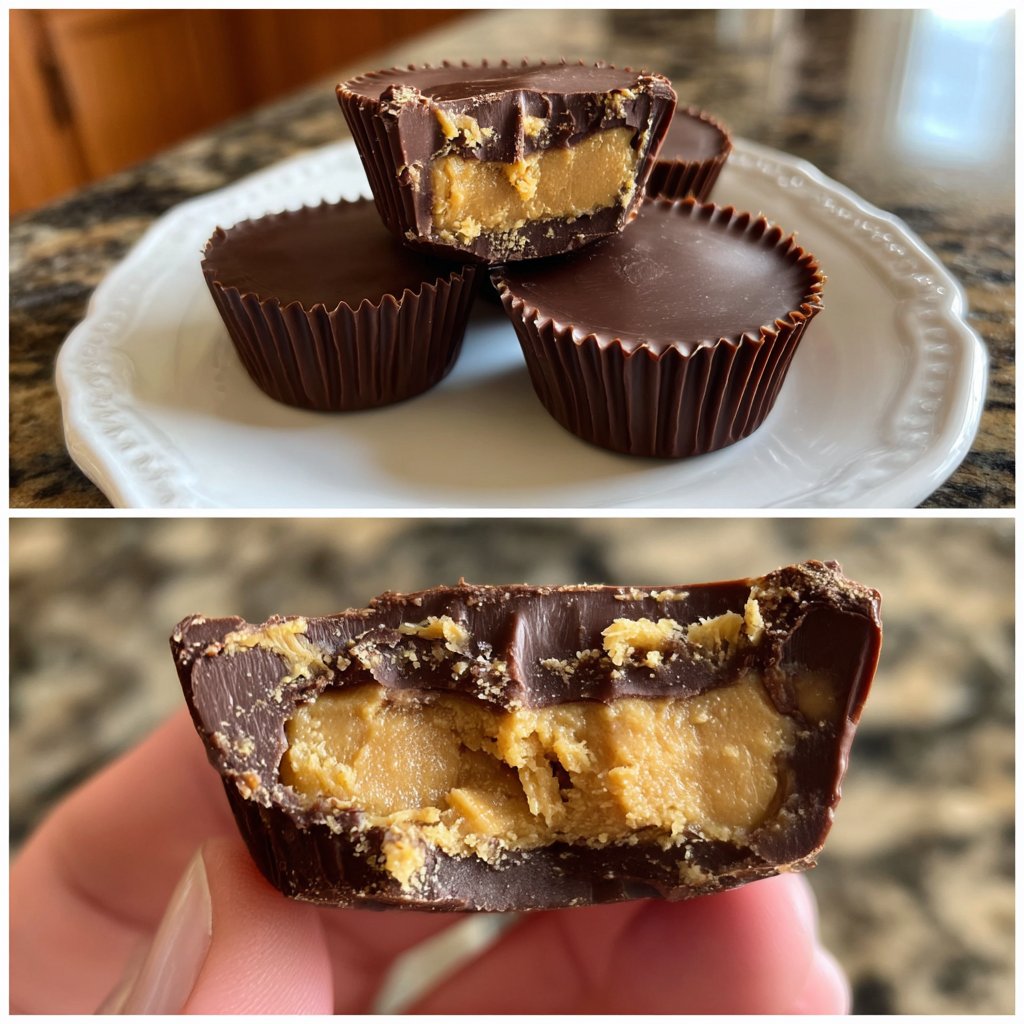
I absolutely love making these Homemade Reese’s Cups Mini Bites because they remind me of my childhood in the most delightful way. The combination of creamy peanut butter and silky chocolate creates a treat that is hard to resist. I always find it satisfying to craft these bites from scratch, knowing exactly what ingredients are in each piece. It’s a fun and easy recipe that allows for customization depending on your taste preferences, and it’s perfect for snacking or sharing with friends.
When I first tried making these mini bites, I didn’t realize how simple it would be to replicate the iconic taste of Reese’s Cups. I experimented with the chocolate and peanut butter ratios until I found the perfect combination that balances sweet and salty. One crucial tip I discovered is to let the chocolate cool slightly before pouring it over the peanut butter layer; this prevents the layers from mixing together and gives each bite a distinct look and taste.
Sharing these treats with friends and family is always a joy, and watching their faces light up as they take the first bite is incredibly rewarding. I often personalize these bites by adding a sprinkle of sea salt on top before the chocolate sets, giving it that gourmet touch. I hope you make these and enjoy them just as much as I do!
Why You Will Love This Recipe
- The playful bite-sized treats make perfect snacks for any occasion
- Easy to customize with different flavors or toppings
- A nostalgic treat that brings back wonderful memories of childhood
Creating the Perfect Peanut Butter Filling
The peanut butter filling is the heart of these mini bites, so choosing the right peanut butter is crucial. I prefer creamy peanut butter for its smooth texture, which blends seamlessly with the powdered sugar and vanilla extract. If you're looking for a slightly crunchier texture, you can substitute half of the creamy peanut butter with crunchy. This adds a delightful contrast to the silky chocolate coating.
Mix the filling thoroughly until it reaches a smooth consistency. Make sure to scrape down the sides of your bowl to incorporate all the ingredients. If the mixture seems too thick, a splash of milk can help achieve the desired texture. Aim for a fondant-like consistency, which allows for easy scooping and helps it hold its shape when placed in the muffin liners.
Mastering the Chocolate Coating
Melting chocolate can be tricky, but using a microwave with precise timing can mitigate that. Heat the chocolate in 30-second intervals to prevent scorching. Stirring in between is essential; this ensures the heat distributes evenly and prevents any bits from burning. The addition of coconut oil gives the chocolate a glossy finish and helps it harden with a nice snap. If you prefer dark chocolate, feel free to swap out the milk chocolate chips for dark or semi-sweet varieties, adjusting the sugar content slightly if needed.
To check if your melted chocolate is at the right consistency, ensure it is smooth and flows easily from your spoon. If it appears too thick, incorporate more coconut oil in small increments until you reach the desired fluidity. This will facilitate better coverage of the peanut butter filling, creating a uniform layer that enhances both presentation and flavor.
Ingredients
For the Peanut Butter Filling
- 1 cup creamy peanut butter
- 1/2 cup powdered sugar
- 1/2 teaspoon vanilla extract
For the Chocolate Coating
- 1 1/2 cups milk chocolate chips
- 1 tablespoon coconut oil
Instructions
Prepare the Peanut Butter Filling
In a mixing bowl, combine creamy peanut butter, powdered sugar, and vanilla extract. Mix until smooth and well combined. Set aside.
Melt the Chocolate
In a microwave-safe bowl, combine milk chocolate chips and coconut oil. Heat in the microwave in 30-second intervals, stirring in between until completely melted and smooth.
Assemble the Mini Bites
Line a mini muffin pan with paper liners. Pour about a teaspoon of melted chocolate into the bottom of each liner, followed by a small dollop of the peanut butter filling. Top with more melted chocolate until it covers the filling completely.
Chill to Set
Refrigerate the mini bites for at least 15 minutes or until the chocolate is firm. Once set, remove them from the liners and enjoy!
Pro Tips
- For a richer flavor, try using dark chocolate instead of milk chocolate. Additionally, you can add chopped nuts into the peanut butter filling for added crunch.
Storage and Make-Ahead Options
These Homemade Reese’s Cups Mini Bites can be made ahead of time and stored for up to a week in an airtight container. Just ensure they are kept in a cool, dry place to maintain the best texture and flavor. If you're planning to store them for longer, consider freezing them; they freeze beautifully for up to three months. Place them in a single layer in a freezer-safe container to prevent sticking, and let them thaw in the refrigerator when ready to enjoy.
When serving, consider pairing these mini bites with a glass of cold milk or a scoop of vanilla ice cream for an indulgent treat. The contrast of temperatures and textures elevates the entire experience, making it even more enjoyable for your guests.
Variations and Customizations
Feel free to get creative with your mini bites! Swapping out peanut butter for almond or cashew butter can impart unique flavor profiles without losing the essence of the treat. If you enjoy a hint of salt, adding a pinch of sea salt to the peanut butter filling can accentuate its sweetness and rich flavor, creating a delightful contrast.
Toppings can also elevate these mini bites. After adding the chocolate coating, consider sprinkling crushed peanuts, sea salt, or even drizzling with white chocolate for an added visual appeal. Experimenting with different flavors and toppings not only personalizes the recipe but can also make each batch a unique surprise.
Questions About Recipes
→ Can I use natural peanut butter?
Yes, but keep in mind that natural peanut butter may give a different texture and taste as it can be looser than creamy varieties.
→ How should I store these mini bites?
Store them in an airtight container in the refrigerator for up to two weeks.
→ Can I freeze these mini bites?
Absolutely! You can freeze them for up to three months. Just be sure to place them in a single layer in an airtight container.
→ What can I substitute for coconut oil?
You can use vegetable oil or butter as a substitute for coconut oil in the chocolate coating, though it might affect the texture slightly.
Homemade Reese’s Cups Mini Bites
Created by: Delilah Spencer
Recipe Type: Home-Style Sweets
Skill Level: Easy
Final Quantity: 24 mini bites
What You'll Need
For the Peanut Butter Filling
- 1 cup creamy peanut butter
- 1/2 cup powdered sugar
- 1/2 teaspoon vanilla extract
For the Chocolate Coating
- 1 1/2 cups milk chocolate chips
- 1 tablespoon coconut oil
How-To Steps
In a mixing bowl, combine creamy peanut butter, powdered sugar, and vanilla extract. Mix until smooth and well combined. Set aside.
In a microwave-safe bowl, combine milk chocolate chips and coconut oil. Heat in the microwave in 30-second intervals, stirring in between until completely melted and smooth.
Line a mini muffin pan with paper liners. Pour about a teaspoon of melted chocolate into the bottom of each liner, followed by a small dollop of the peanut butter filling. Top with more melted chocolate until it covers the filling completely.
Refrigerate the mini bites for at least 15 minutes or until the chocolate is firm. Once set, remove them from the liners and enjoy!
Extra Tips
- For a richer flavor, try using dark chocolate instead of milk chocolate. Additionally, you can add chopped nuts into the peanut butter filling for added crunch.
Nutritional Breakdown (Per Serving)
- Calories: 70 kcal
- Total Fat: 5g
- Saturated Fat: 2g
- Cholesterol: 0mg
- Sodium: 25mg
- Total Carbohydrates: 8g
- Dietary Fiber: 0g
- Sugars: 6g
- Protein: 2g